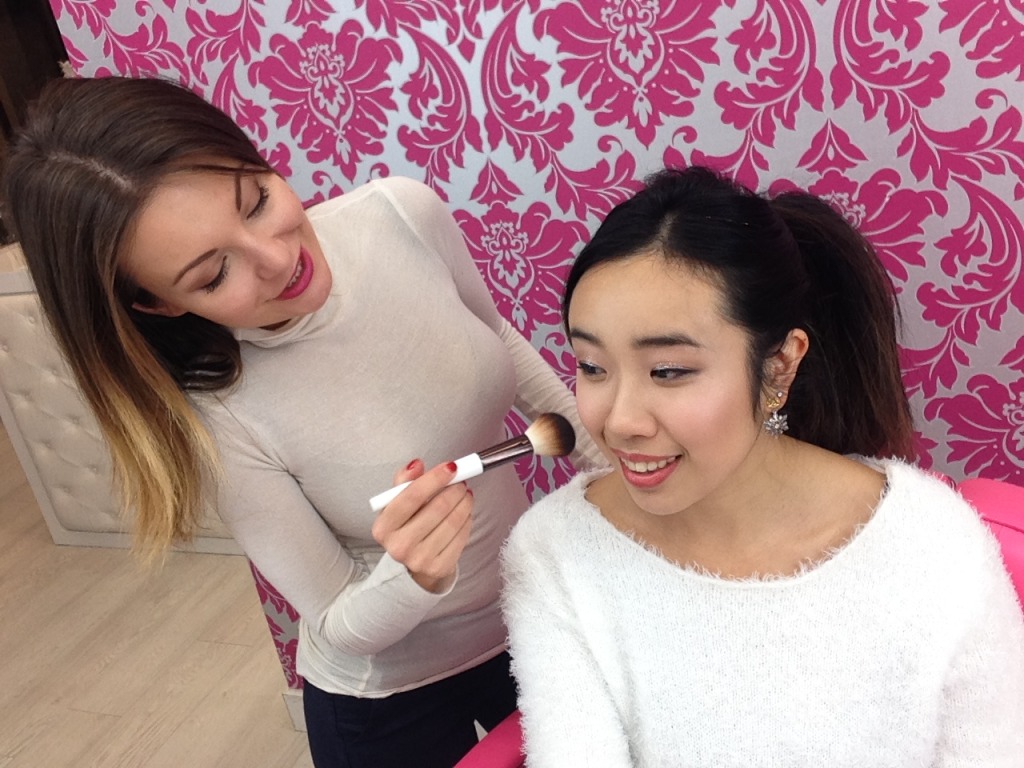
Tis’ the season for Holiday Sparkle!! For you out there wanting to do something different and fun for your holiday look this year, I couldn’t think of anyone better to show you than my home girl, the woman who is my hair + makeup saving grace, Ana from Ana V Beauty! Here we have a fun, easy to do but sure to impress holiday look that will definitely turn heads!

For the look – it focuses on the eyes! So to prep for this, I already had my moisturizer, foundation and eyebrows done!
Step 1 : Highlighting
You’d want to highlight before any shading. The art of highlighting is a science! You’d want to highlight where the light hits the face. For this look, Ana has used a matte highlighter to highlight several key spots on my face: the Apples of the cheeks, centre of the chin, bridge of the nose and centre of the forehead!
To find your cheeky apples, imagine an invisible line from your ear to your nose (starting from where your eyebrows meet the cheekbone). If anything, smile! That’s where it is! You’ll immediately see INSTANT BRIGHTNESS!
There are a couple different types of highlighters! Ana used her own line of Cream Highlighter as it shows up more whereas a powdered highlighter looks less intense.
Step 2: Illumination
For the holiday season, you’d of course want some instant holiday shimmer, and that’s when the Illuminator comes in. An illuminator is pretty much a highlighter that has some shimmer in it! Unlike the highlighter, the illuminator pushes back light.
You’d want to apply only on the cheekbone. Start from the hair line and brush downwards. AVOID THE APPLES!! (how funny) The most attention should be on the side of the face, eye lid, corner of eye, top of the lip. I need to get this illuminator because it’s actually MAGIC. Ana used the NARS Copa Cabana!!
Step 3: Contouring
Contouring creates a cheek hollow, and makes your features look more defined. And I’ve unfortunately only very recently discovered that I’ve been using bronzer to contour. Don’t do that.
To contour, you can use a powder brush and brush towards the corner of your lips!! A cool tip is to hold the brush very far to end of it for very light pressure to be applied. And thanks to Miss K Jenner, lip contouring is huge right now! To contour your lips, be sure to shade underneath the lips with a small pointy tip brush!
Step 4: Blush
The holidays call for shimmer! So that’s what we did. The blush that Ana used has shimmer and the shade was rose dust! This shade is perfect for the winter because it adds to the appearance of rosy cheeks and provides a glow!
Step 5: The Eyes
The part that I’ve been so excited about!! All I wanted was glitter, glitter and more glitter!!
Ana applied some Maybelline cream eye shadow using a pencil brush and it was applied close to eye. She added more contour near the creases of the eye to add that depth! I loved what she called it. It is the ‘windshield wiper technique’ as she brushed the eyeshadow back and forth.
And we finally took out the Stila Glitter shadow!! The cream shadow that was previously applied did wonders to help it stick. Apply it starting from the centre of eye, you can look straight or down when applying and push on the lash line back and forth. This gives a nice lift and shadow to the eyes and is almost like a glitter smokey eye effect! Finally, we used a gel liner to create a nice winged look!
Step 6: The Lips
As the focus is the eyes, go with a softer, lighter colour for the lips!
If you want to follow more exciting tips and tricks from Ana, follow her on her website and Instagram! She also teaches some amazing makeup classes so be sure to keep an eye out for that as well!
HAPPY HOLIDAYS!!
